Printing

_DSC5319.jpg

It’s the responsibility of the artist and not of those who print when the printed picture is on the wrong paper, has the wrong size. It’s not the first time that I wanted to get my pictures printed on dem paper and I got them on glossy ones or the other way round. One must check the results.

Today I got another picture printed. When I returned home I realized that it was printed on another paper than the pictures that I got printed yesterday even though I mentioned that I’d like to get the same paper like yesterday. Nobody wants to have 5 different papers in a portfolio. I even explained my project and why I need the same paper. I had asked the last time, but I didn’t insist enough to get an answer about the company who produces the paper that they use and the thickness of the paper. I wanted to have glossy paper in addition.

Everything that could go wrong went wrong already:

  • I got the wrong paper size. I was told that the one who would frame it can cut it. But I want to put the picture in a file.

  • I got dim paper instead of glossy one.

  • Each time the thickness of the paper was different.

As said it’s the responsibility of the artist to communicate correctly.

This is the second print company that I try. The first one was expensive beyond imagination. It took 3 weeks till I got one picture printed and then it was printed on a paper with a wrong size. On the sides of the picture was a tiny white rim.

I know now why I avoided this last step. To get to prints is a stony path plastered with mistakes. It’s a trial and error adventure. It can get expensive and time-consuming.

One must probably distinguish between print companies and copy shops. Printing companies have different clients. Most people probably want to get a few copies and go to a copy shop round the corner. They want to get the diploma printed i.e.. Advertising companies might go to different print companies that offer a higher standard. They might not be interested in printing a single picture every week. The printer of the copy shops are usually of high quality these days. Yet a copy shop has different expertise than a company that offers fine art prints.

Hahnemühle is a leading paper company. I consider to buy my own paper. Hahnemühle also offers high end boxes to store the pictures. That way I can at least control a tiny part of the printing process.

Sketching

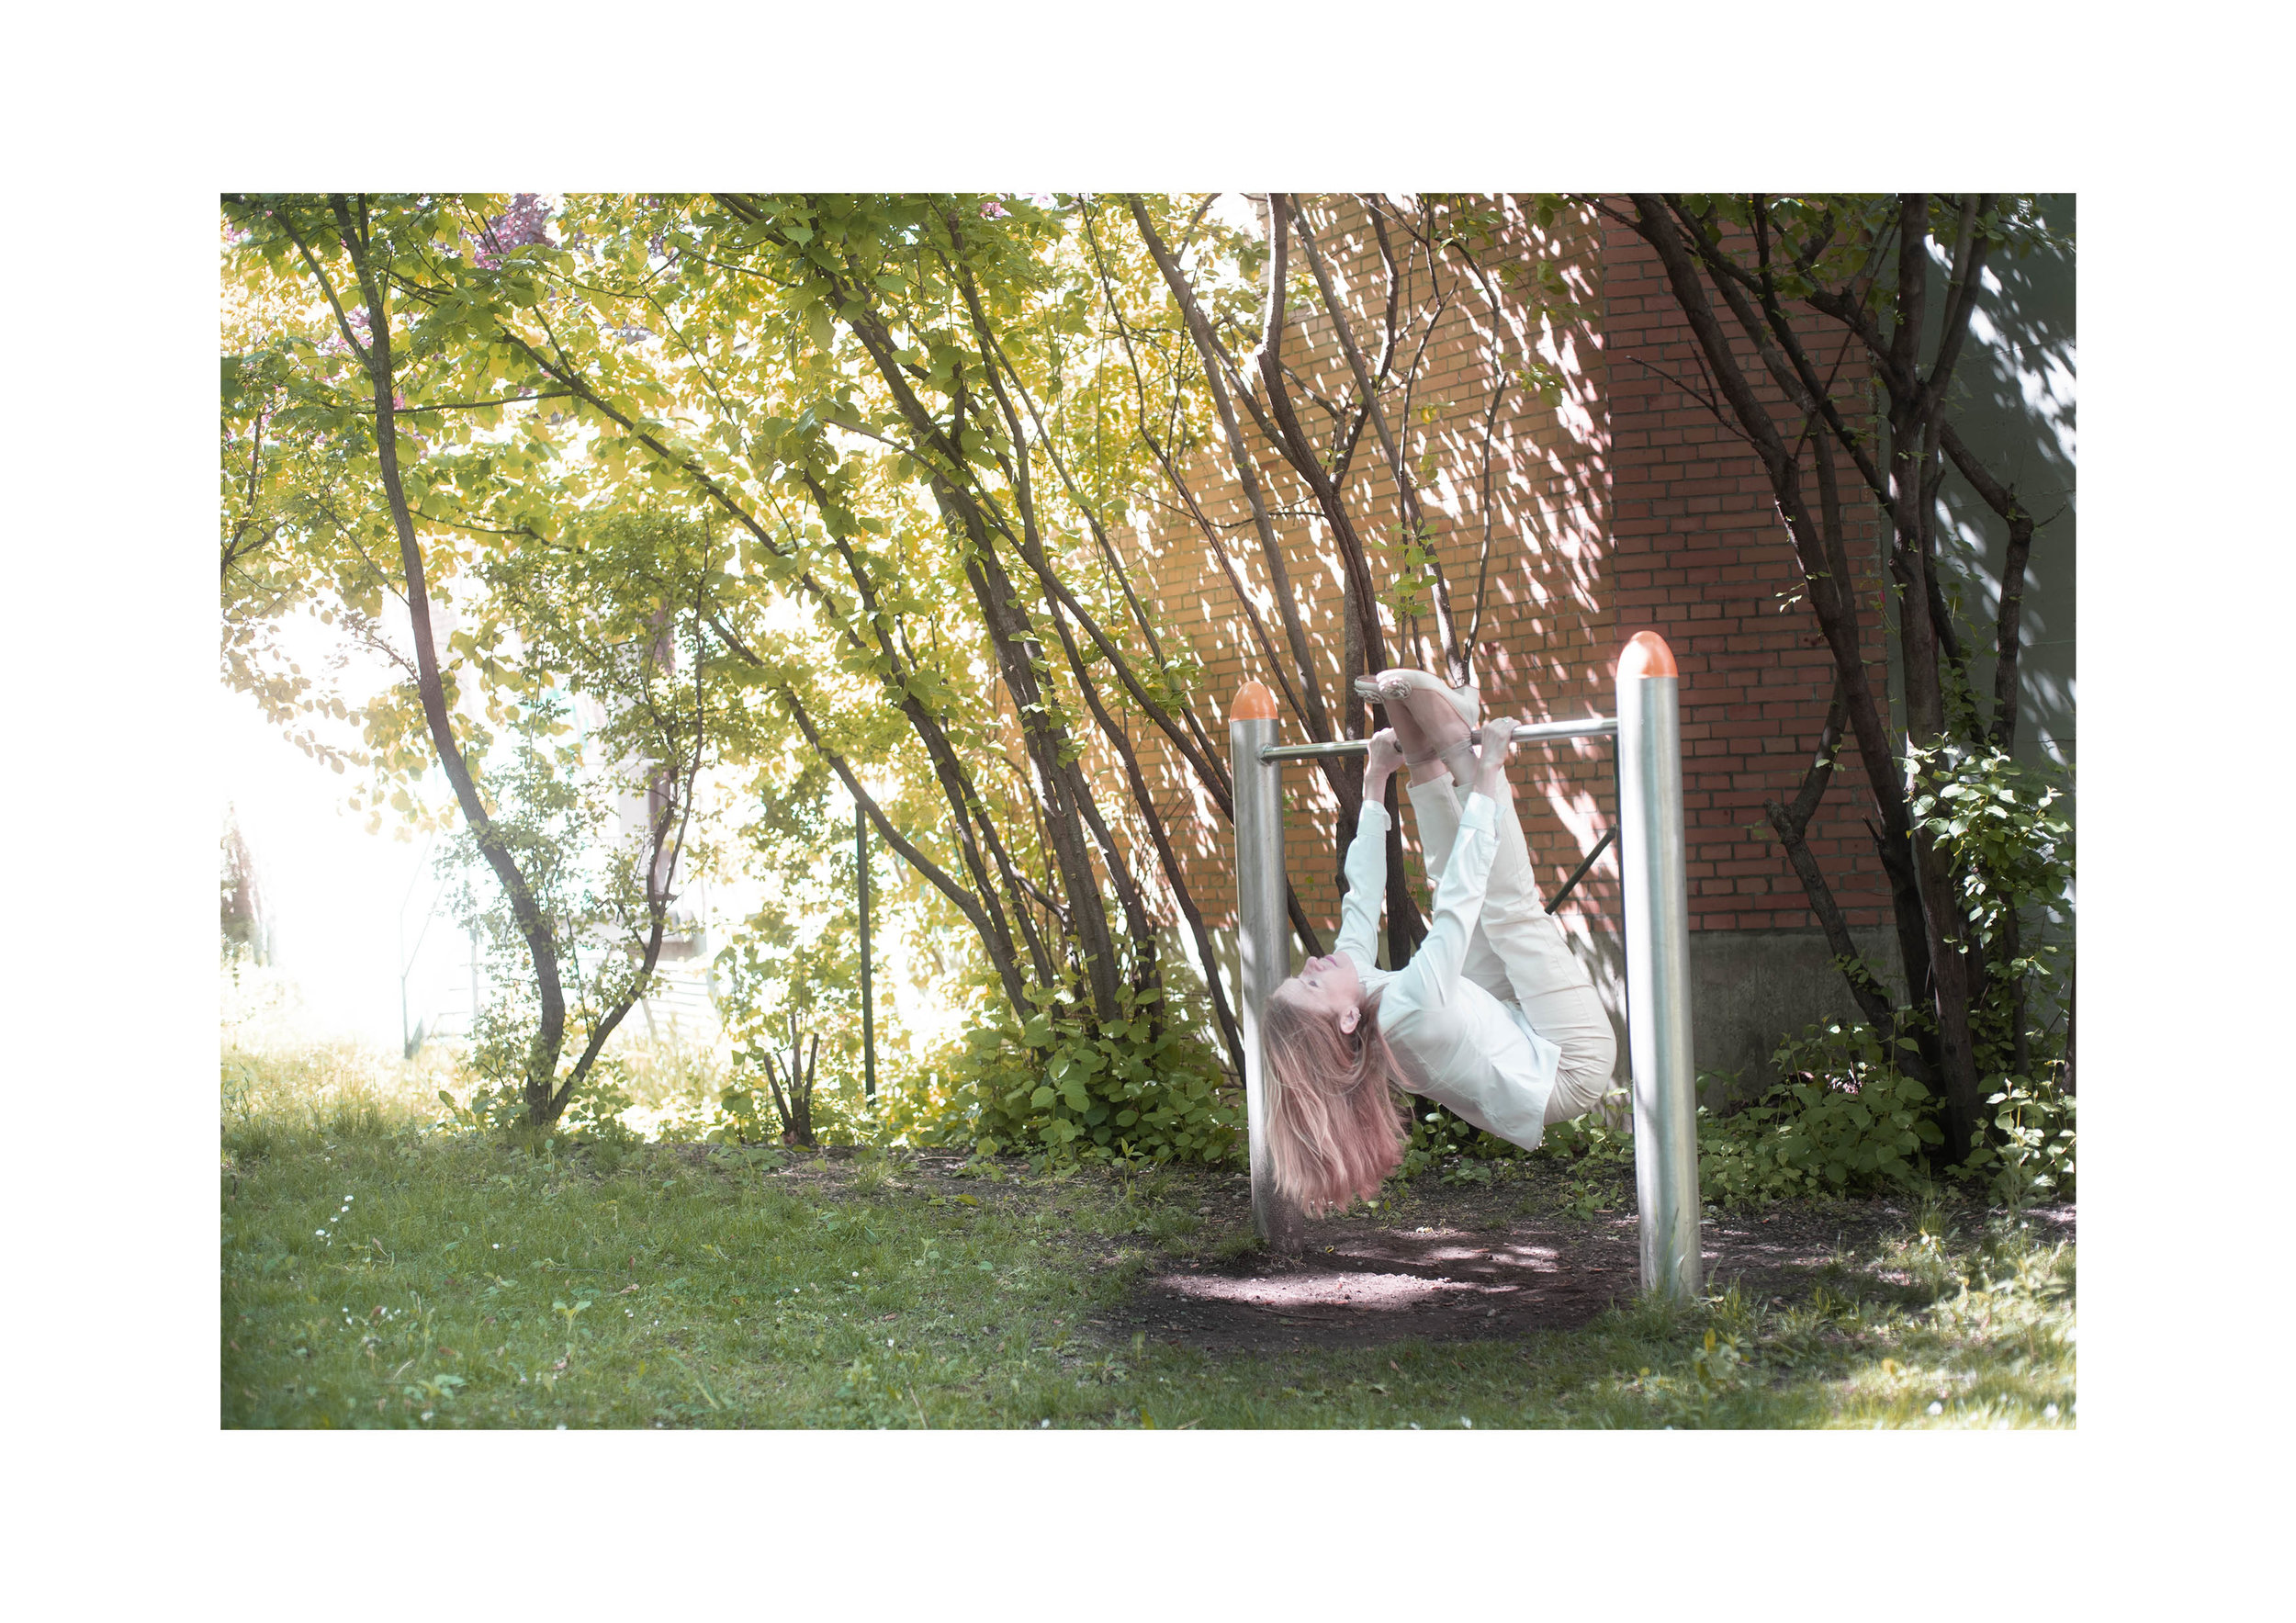
I started a new series. It should be about levitation. Very soon I interpreted the topic much broader. I wanted to show lightness in yoga.

Sketch 1:

  1. A picture is finished when it’s printed. To find a good print company can be a challenge on its own. The first decision that I had to make was about the size of the picture. This is in my opinion the first step, especially if a picture shall become part of a series. If a picture shall get framed and this is usually the case there must be a rim around the picture. I decided to go for Din A3. The picture itself shall have a size of 20 x 30 cm. I adjusted the picture in Photoshop. First I created a new canvas with the size Din A3. Then I adjusted the picture to the size 20 x 30 cm. Then I moved the picture over the canvas and centered it.

  2. The printed version of the sketch 1 made me realize that the filter that I had used made my face look like dead. The skin of the face shall never look bluish, yellowish or reddish. I knew I had to edit the picture again.

Sketch 2:

  1. The outer frame is now Din A3. I cannot make out why the picture has not my wished size of 20 x 30 cm, but it was so. I had to resize it and get it printed again

  2. I realized that my face was mini-blurred. Blurred is blurred. I had to reshoot my vision, only because of this mini blur. The wall in the background was in focus. Sometime it’s difficult to realize these shortcomings of a picture, because then it becomes clear that one has to repeat the entire process. The next day the weather had changed. There was no sunshine anymore, it was a grey day, which made the location even darker.

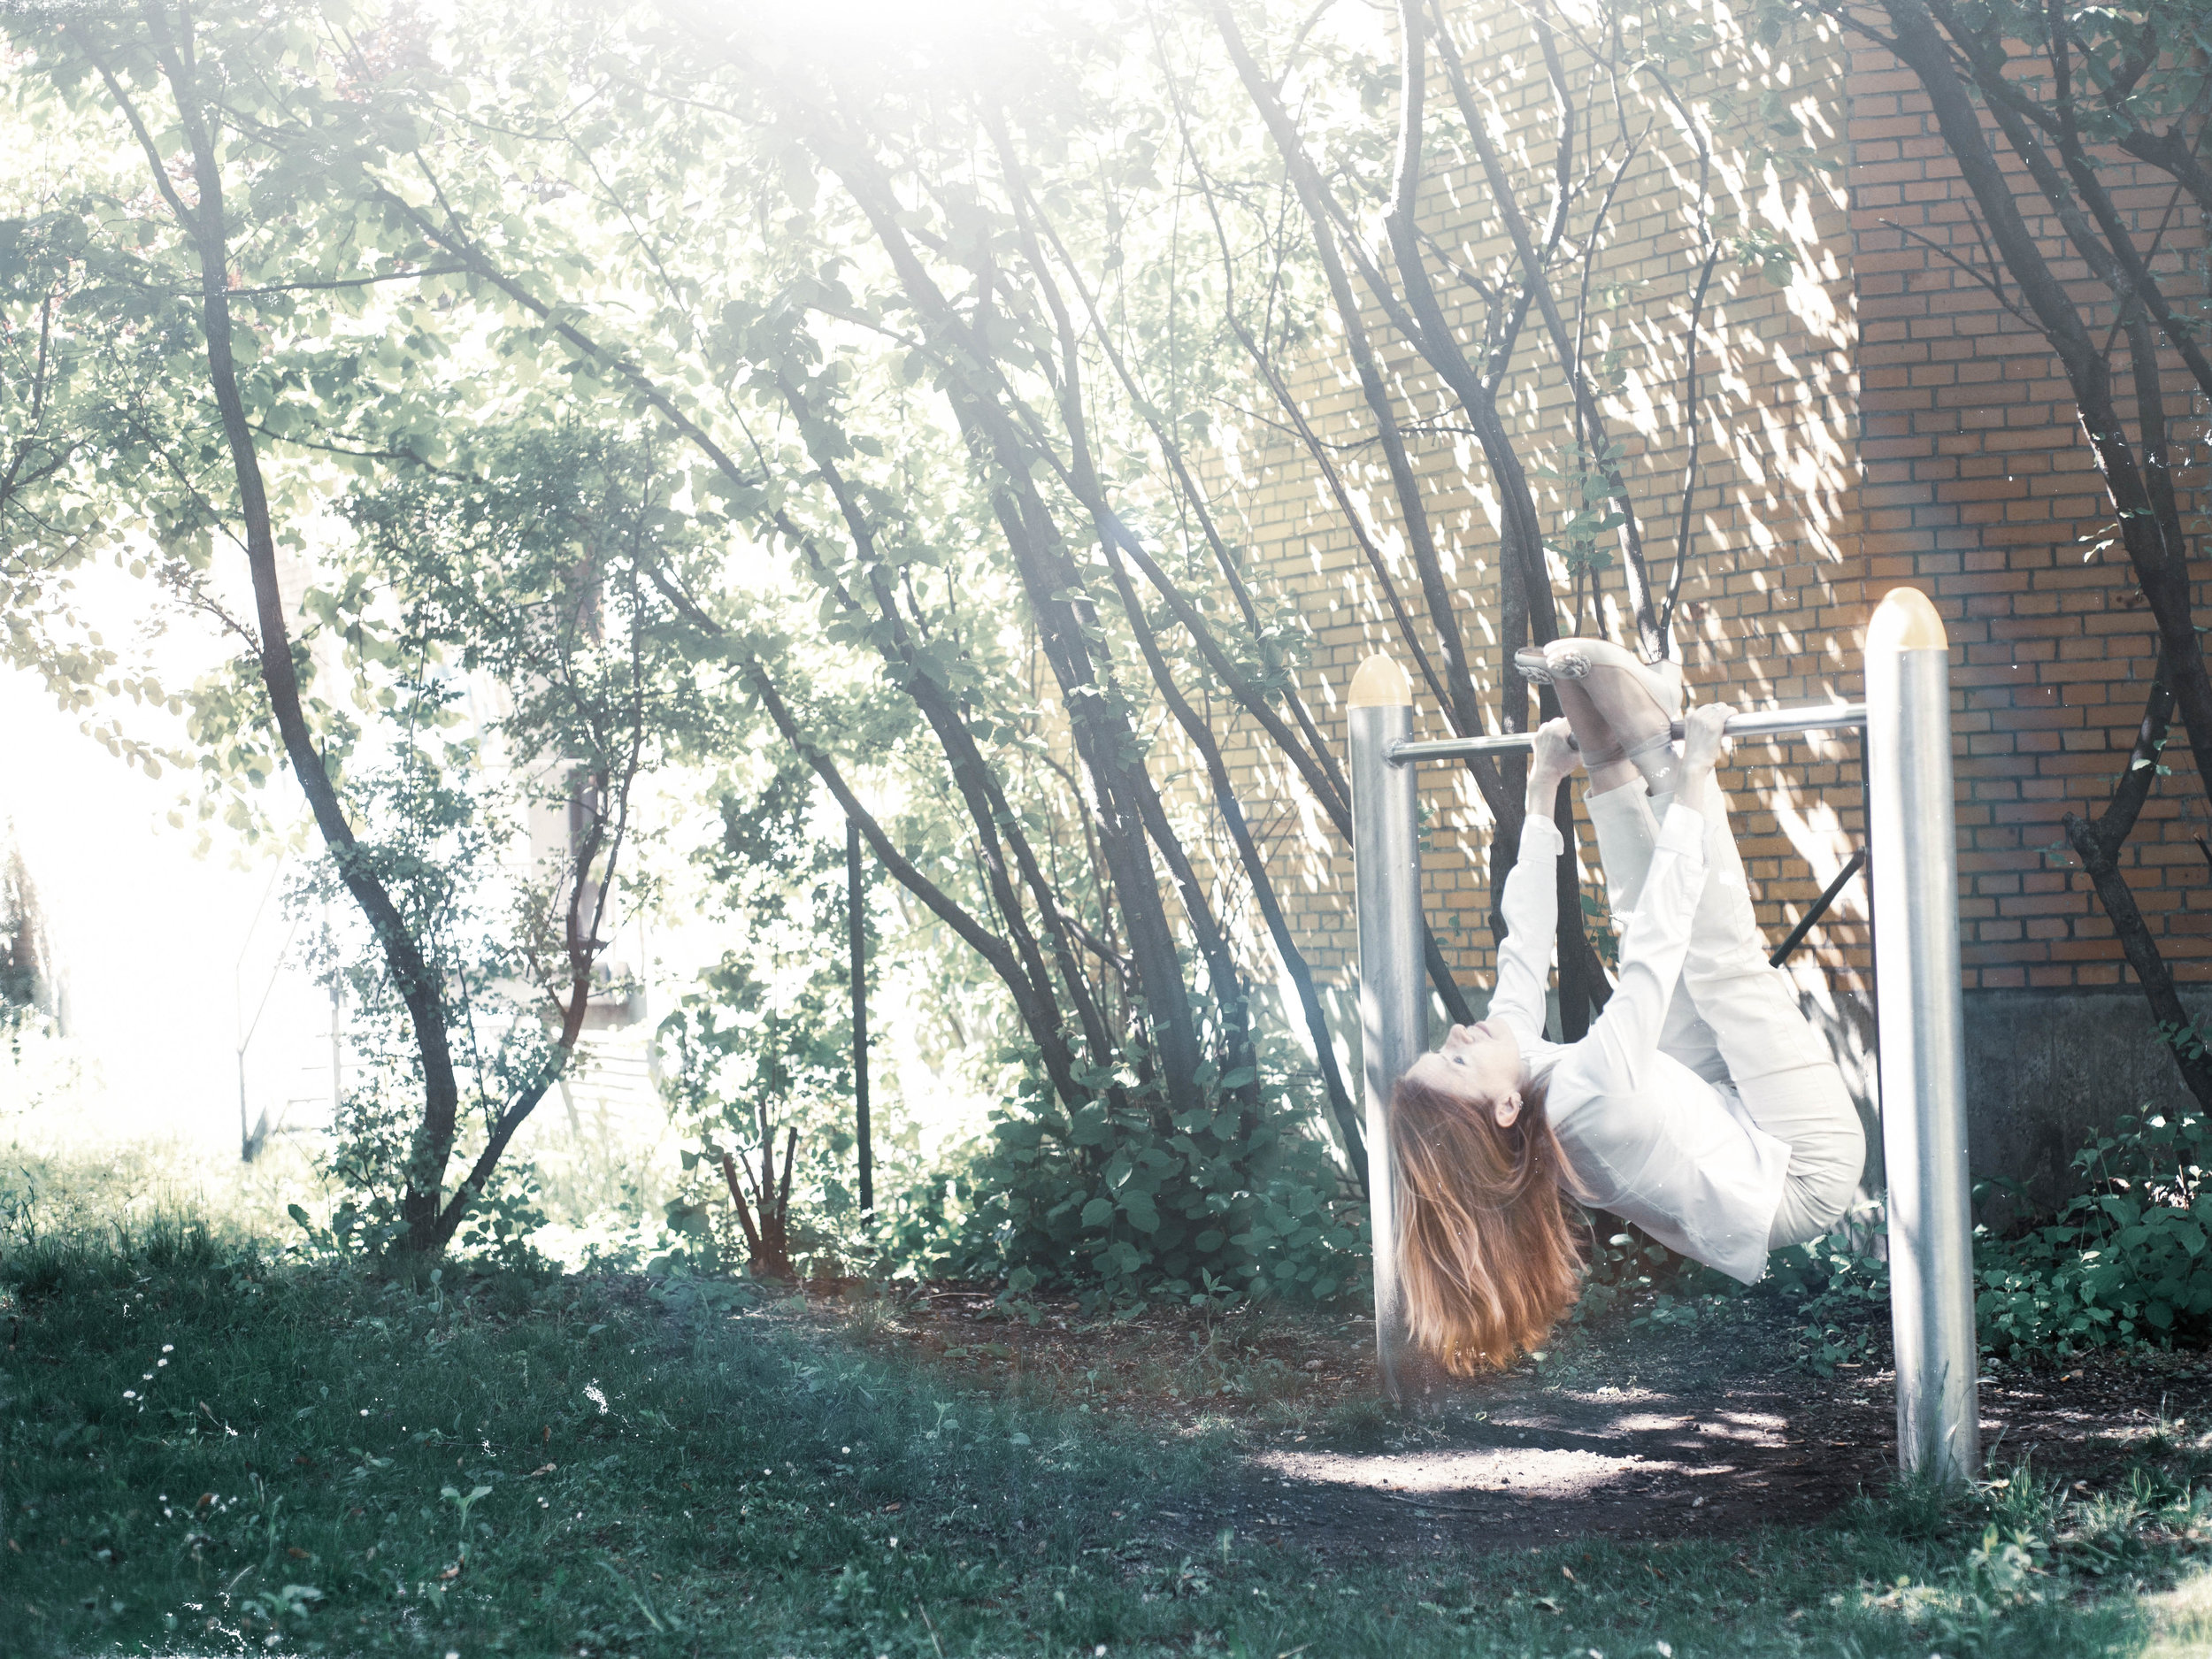
  3. It was such a challenge to do the exercises there. To hold my body was hard. I was not strong enough hold the pose for a long time. Soon my muscles got very tired. I couldn’t turn around the bar. This can be seen. I hang there. The pose has no lightness.

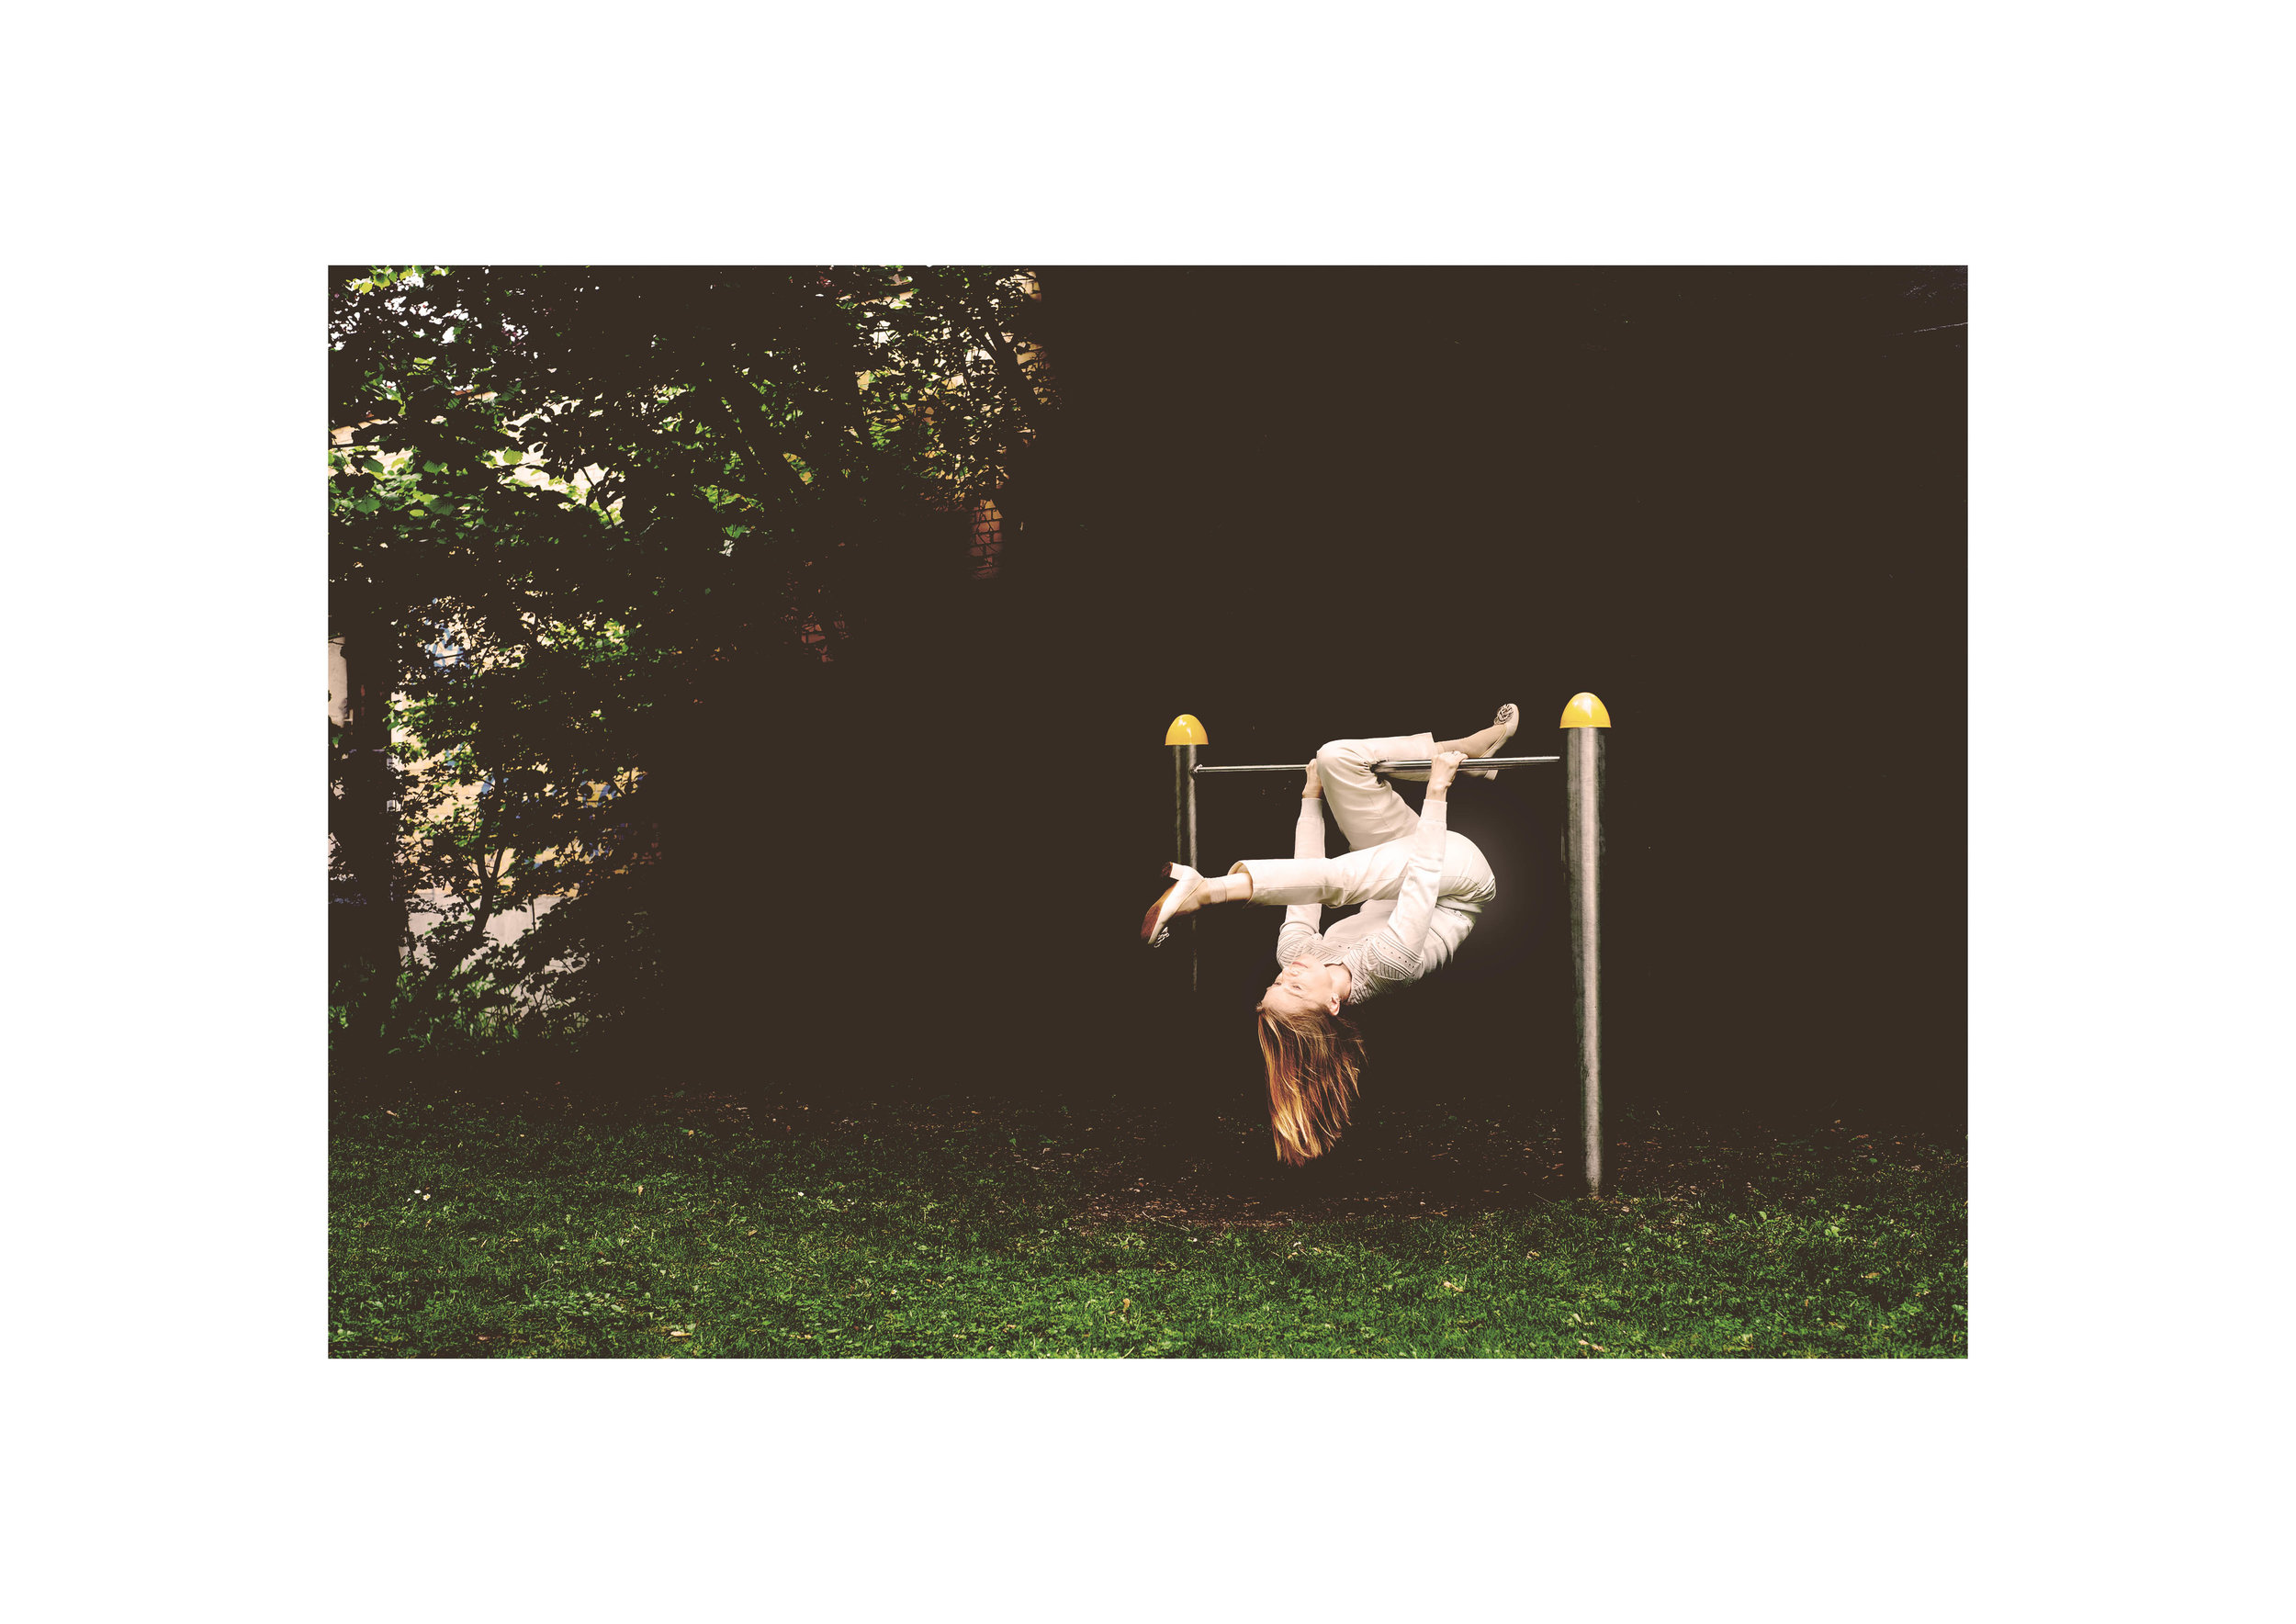
Sketch 3:

  1. The format of the frame and the picture is as I wanted it.

  2. The face is in focus.

  3. The form of the body has more dynamic and looks for me at least a tiny bit lighter.

  4. Nevertheless the picture in sum became too dark. Darkness is the opposite of lightness. My intention was to show exactly this: lightness.

Sketch 4:

  1. I consider to leave these sketches behind me. They were a good exercise, but nothing more.

Summary:

  1. Decide on the format.

  2. Print the pictures.

  3. Filters must be used very carefully when people are in the picture. Skin looks best when natural.

  4. Check what’s in focus and what’s not.

  5. What was the intention to create this picture? Is this intention translated visually in an appropriate way?

Yesterday it rained. Today it’s raining, too. It’s impossible to get to this location again. I call these shootings a warm-up. The corner is a bit too dark. I’m not trained enough to show lightness on that bar. I’ll move on to the next photographic adventure. Sometimes this is the best decision.

Yoga poses without touching the floor

_DSC5449-Bearbeitet.jpg

Usually this place with this gymnastic apparatus is deserted. Yet under the bar is no grass, so I guessed that people must use it. Today when I arrived for a photo shooting it was crowded. Children were playing there. It was fun to watch them. They were all courageous and strong. When they disappeared it was my turn to hang there.

It’s May and it’s still very cold. I had put on a white blouse and a Trenchcoat, but this wasn’t enough to stay warm. I didn’t like to give up today’s shooting and tried some poses. It was hard to hold myself. I feared to fall. My hands were so cold that, the bar, too.

I knew very fast that I had to return to that place to try another angle. I want to try more poses. It might be a good idea to get there in the early morning, when the light is different.

Checklist for the next time:

  1. Set a timer to shoot at least 30 minutes.

  2. Try minimum 3 different angles and camera positions.

  3. Have a list of different poses.

  4. Bring some different clothes.

  5. Change the camera settings

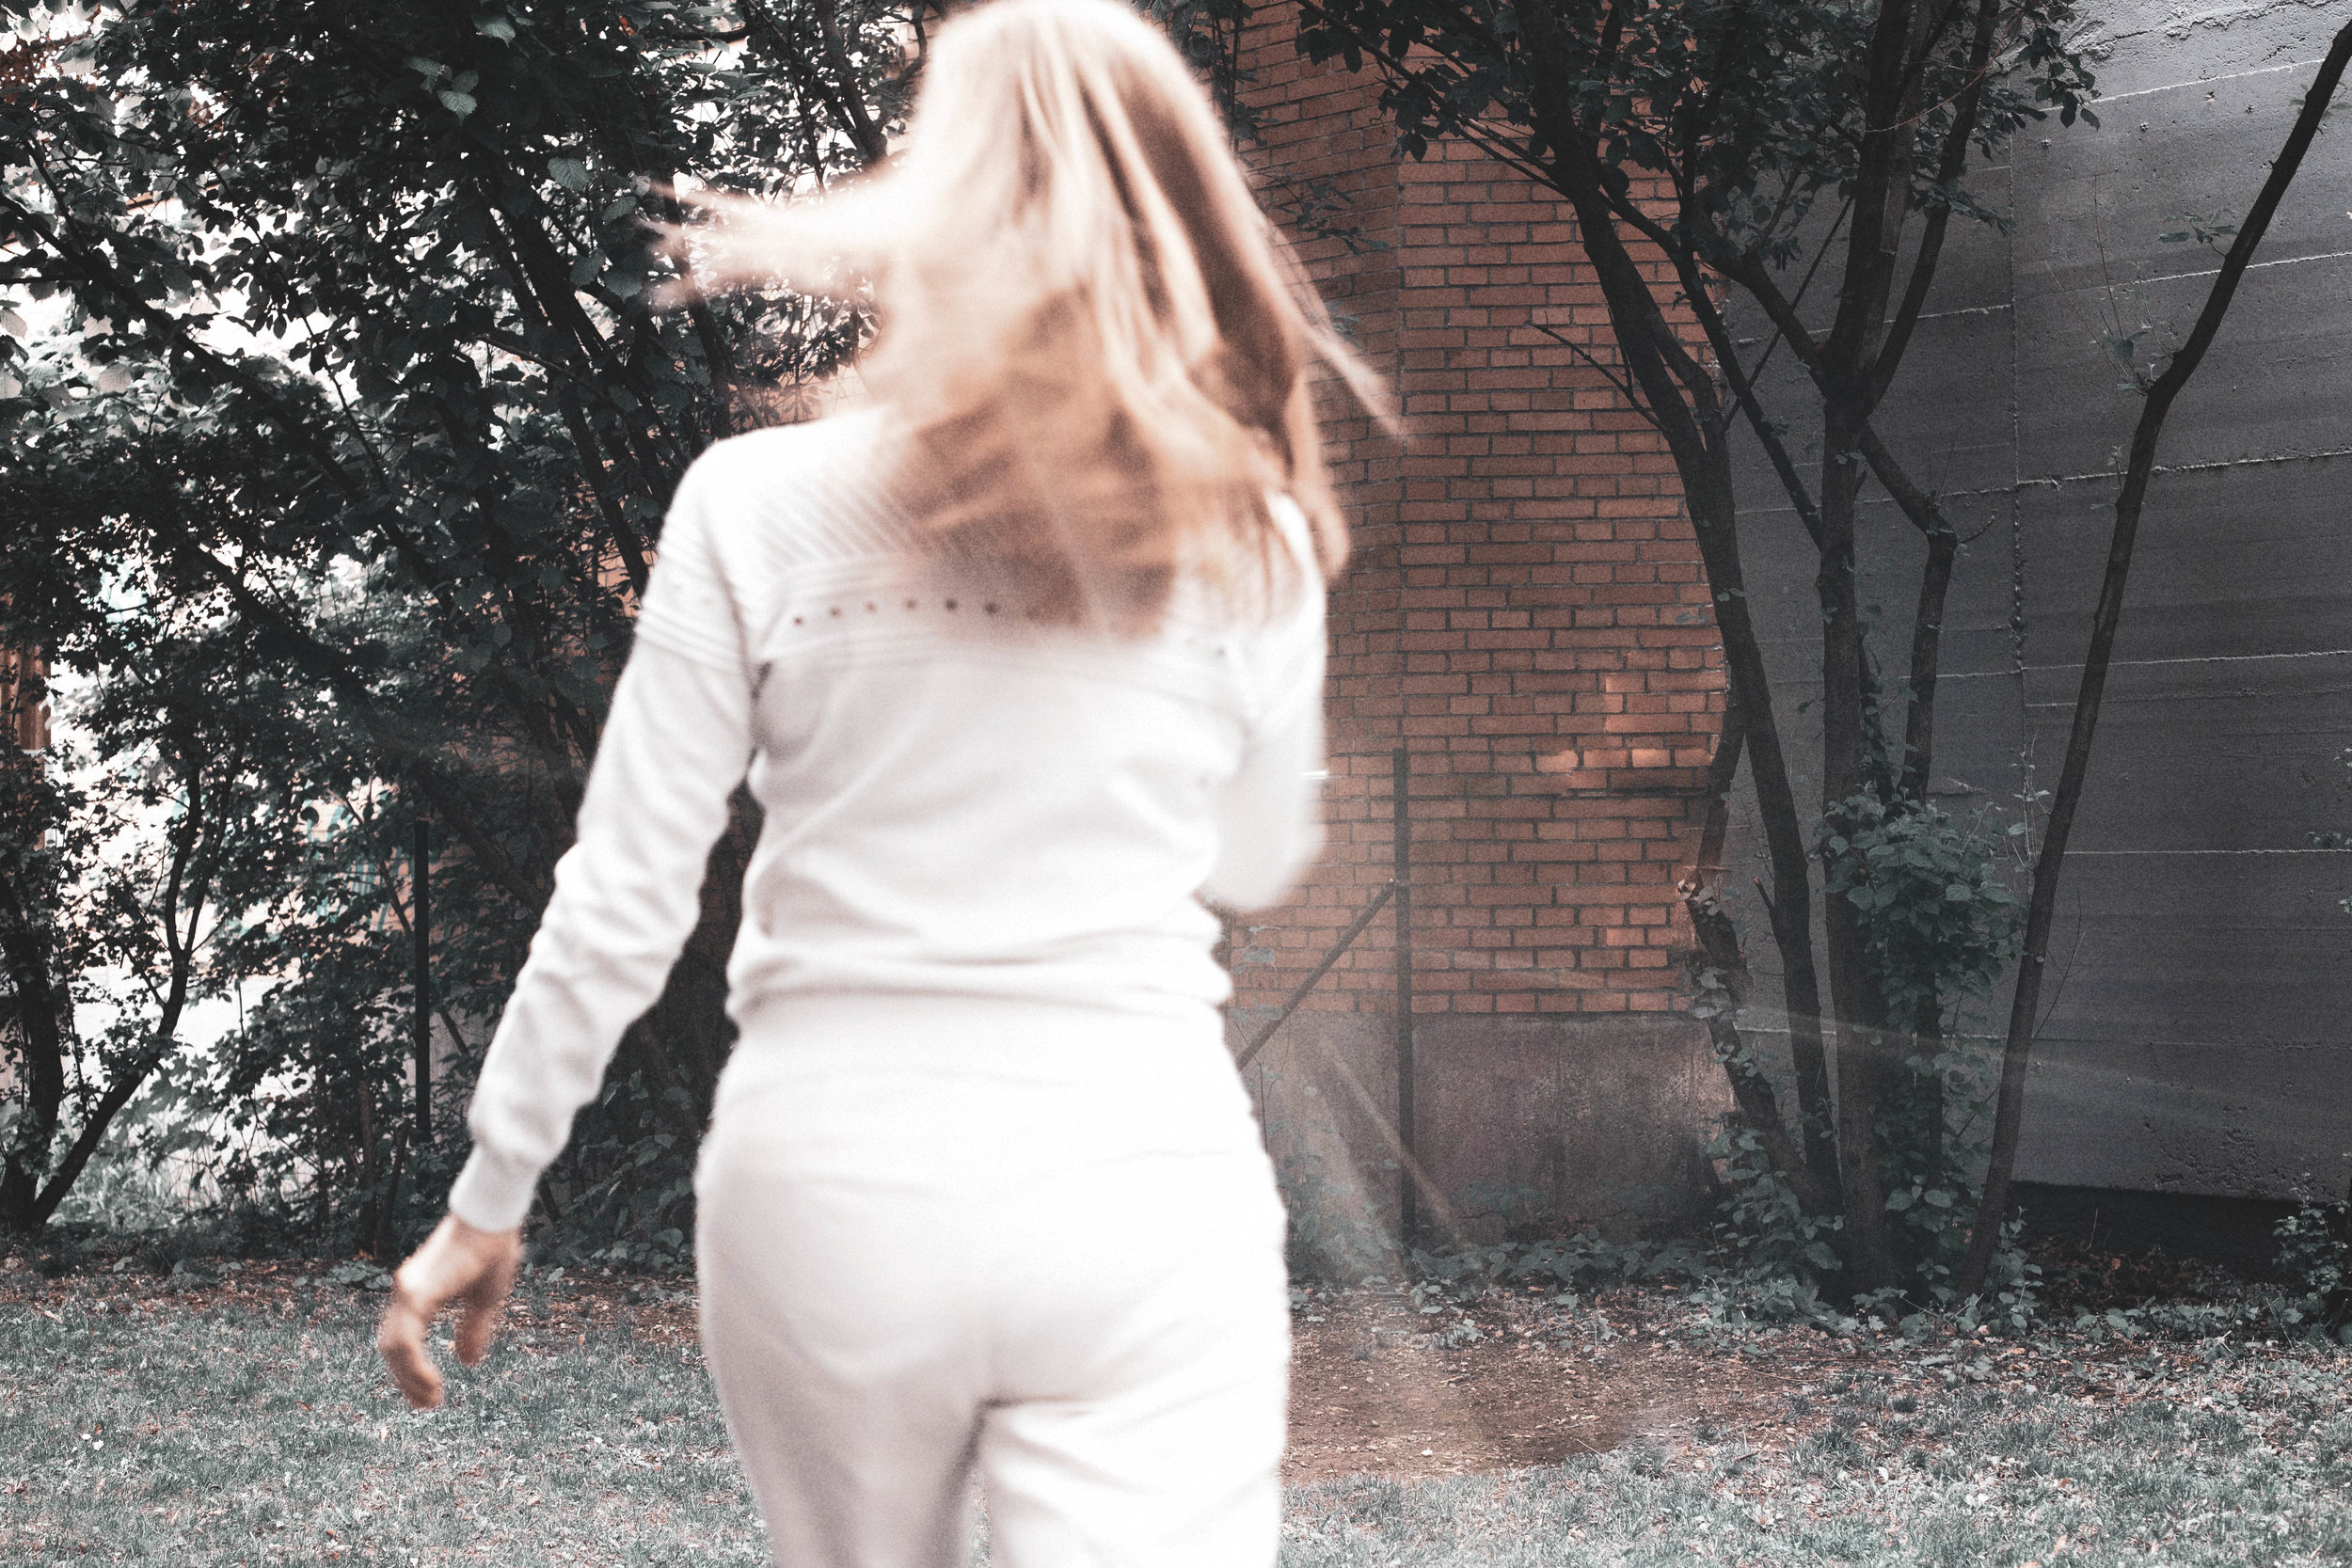
Yoga photography

_DSC3874ps-Bearbeitet.jpg

Today I experimented with a new backdrop. I got a white linen some time ago. I tried to fix it on the wall. A better solution must be found here. The heavy linen fell from the wall after 20 minutes. I decided that this was the end of the photo session.

I love to shoot with the light, without having a too distracting surrounding. To use a linen as backdrop is a good idea. I’ll look for different colors. With Photoshop I should be relatively flexible to create something new with such a neutral background.

Creating art means to experiment. Often it takes time to find locations, clothes, accessories….. but that’s how it is.

Wildlife photographer of the year

_DSC3629ps-Bearbeitet.jpg

The Historic National Museum London creates a yearly contest. It’s called ‘Wildlife photographer of the year’.

45.000 pictures were submitted. The photographers came from 96 countries. Only 100 pictures make it to this exhibition every year. The chosen pictures tour from country to country. At the time the exhibition is in Munich, Germany. I love animals, I had to see all these pictures of wild animals from around the globe.

The pictures were stunning.

Being a wildlife photographer means to have patience. Sometimes it takes days or months, perhaps even years to encounter an animal, that one wishes to photograph. Sometimes luck helps and the unexpected happens. A photographer could capture a bear in a village in Italy at night. This means to be present and to have a camera handy. Always.

I saw insects in that exhibitions, animals that live under water. I saw huge animals like bears, tigers and whales, others like the insects were tiny. Blow-ups could make tiny details visible.

A tiny part of the exhibition also showed the cruelty that human beings commit agains the animals.

What were the criteria of the jury to select a picture as one of the best?

They wanted to see a concept behind the pictures. One concept was to take pictures on eye level consequently

It was forbidden to take pictures in the exhibition. So I had to take my own wildlife pictures.

Usually the algorithm of a company is not known. This morning when I checked my flickr account, I realized that one of my swan pictures made it to ‘in explore’. This usually means that this picture gets a lot of likes and attention. Some photographers start to follow my account when this happens. I would have chosen the above picture for explore. The algorithm or perhaps real people (?) made another decision. The below pictures were chosen to be exhibited in that group.

_DSC3676-Bearbeitet.jpg

Connecting a Bose headset with Apple

Ich auf dem Balkon mit Fernglas 2011.jpg

Switching to the Apple world is work. Often I get stuck. Sometimes it takes time to find a solution. First I check YouTube videos. I also read articles on the Internet. Sometimes I search a conversation with an expert.

My issue: I wanted to connect my Bose headset with my Apple. Bluetooth was on, but I couldn’t see my headset. Today I was downtown and went to the Bose shop. The clerk knew at once what to do. On the side of the headset is the on-off-switch. One must switch it on and hold it for about 10 sec. At home again i tried it out at once. Suddenly I saw my device in the bluetooth list and I could connect it.

It’s nothing, but if one doesn’t know how to solve this little issue, one could desperate.

To move from a PC to Apple is as if you move to another flat. One speaks of the Apple world. Yep, perhaps one moves indeed to another world and not only to another flat.

How to upload pictures from a Mac or a PC to Instagram

After many years with my PC I switched to Apple. It’s time to reflect which programs I still need. It’s time to clean up my old PC. I also rethink my workflow. What do I really need and why, are the questions that I ask myself.

The party is on Instagram. Everybody is on Instagram these days. I publish my yoga pictures there. I follow interesting people. I get news from there.

Instagram was made for the smartphones/iPhones. The idea was to take a picture with the build-in camera of the phone. Then one could publish it on Instagram. From the beginning on I wanted to upload my pictures that I had taken with my DSLR camera. They were of course not on my phone. I always edited my pictures. To upload the pictures from the PC always drove me crazy as it was so time-consuming.

Here my workflow: I saved the pictures that I wanted to publish on Instagram on Dropbox. My pictures were saved in the cloud of this App, that is they were available on other devices also. I had installed the App Dropbox on my Smartphone. From there I uploaded the pictures on Instagram.

I always looked for a possibility to upload my pictures to Instagram from my PC.

Here is the solution:

If you work with an Apple, you need in addition to the browser Safari, the Google Chrome browser.

This is the first step: Download Google Chrome.

The next step is to install the App ‘Downloader for Instagram’. That’s it. This App allows to upload pictures from the PC/Mac to Instagram.

Here is the link to the App ‘Downloader for Instagram’:

https://chrome.google.com/webstore/detail/downloader-for-instagram/olkpikmlhoaojbbmmpejnimiglejmboe/reviews

It will save me a lot of time.

Thank you very much Travis Transient. It was his YouTube Video who solved my issue:

https://www.youtube.com/watch?v=nu-Qo4j5YKI

Please read his first comment under the video by him; it updates the video. Things change so fast.

Not every day I can solve an issue before lunch time. I jubilate.

No flash

_DSC3526-Bearbeitet.jpg

These days it’s allowed to take pictures in museums for private purposes. It makes no sense anymore to forbid taking pictures. The mobile cameras are so tiny these days, the museum attendants couldn’t control all the people who like to take a picture.

Today I visited an exhibition with pictures of Carl Strathmann. The title of the exhibition: Jugendstil bizarre'.. About 7 pictures weren’t allowed to photograph. They were pictures on loan from other museums that didn’t allow to photograph them. Next to these pictures was the symbol for ‘no pictures’. Yet all the other pictures were allowed to photograph.

Using flash is never allowed in museums. It’s understandable. It would annoy all the other visitors if every other moment another flash would illuminate the room.

This means one must know the own camera. One must know how to switch off the built-in flash. In addition one must know how to compensate the lack of light. It’s possible to hold down the flash. Yet usually one wants to take pictures of good quality.

In museums the light situation can be called difficult. There are often artificial lights to highlight the pictures. The rooms are often very dark. Sometimes the light mirrors in the glass that protects the pictures. Light changes all the time. Also the brightness of the pictures or exhibits changes all the time.

ISO comes into play again. I set it on Auto. It compensates the flash and adjusts quickly.

If one likes Art Nouveau in general, one might also like Carl Strathmann. I liked his pictures and created even a board on Pinterest. Yet in museums I often think that the visitors are as interesting as the pictures or exhibits.

Seeing the work of other artists is very inspiring. Every artist has another favorite topic. How the topics are presented and translated is so different like the artists themselves. Every artist has his/her own language and own preferences.

Sunday - sun day

_DSC3382-Bearbeitet-2.jpg

It’s still March. The sun came out and one could have the impression that it’s summer time. So many people came out of their homes and proved that they are still alive. The Irish community in Munich celebrated St. Patrick’s Day. The green clothes and the red hair (wigs) were an eye-catcher.

Others took advantage of the warm weather and went by bicycle - destination unknown.

The cafés were crowded. The waiters had to run from one guest to the other carrying cakes and coffee.

The English Garden was full of sun worshipper.

_DSC3470.jpg

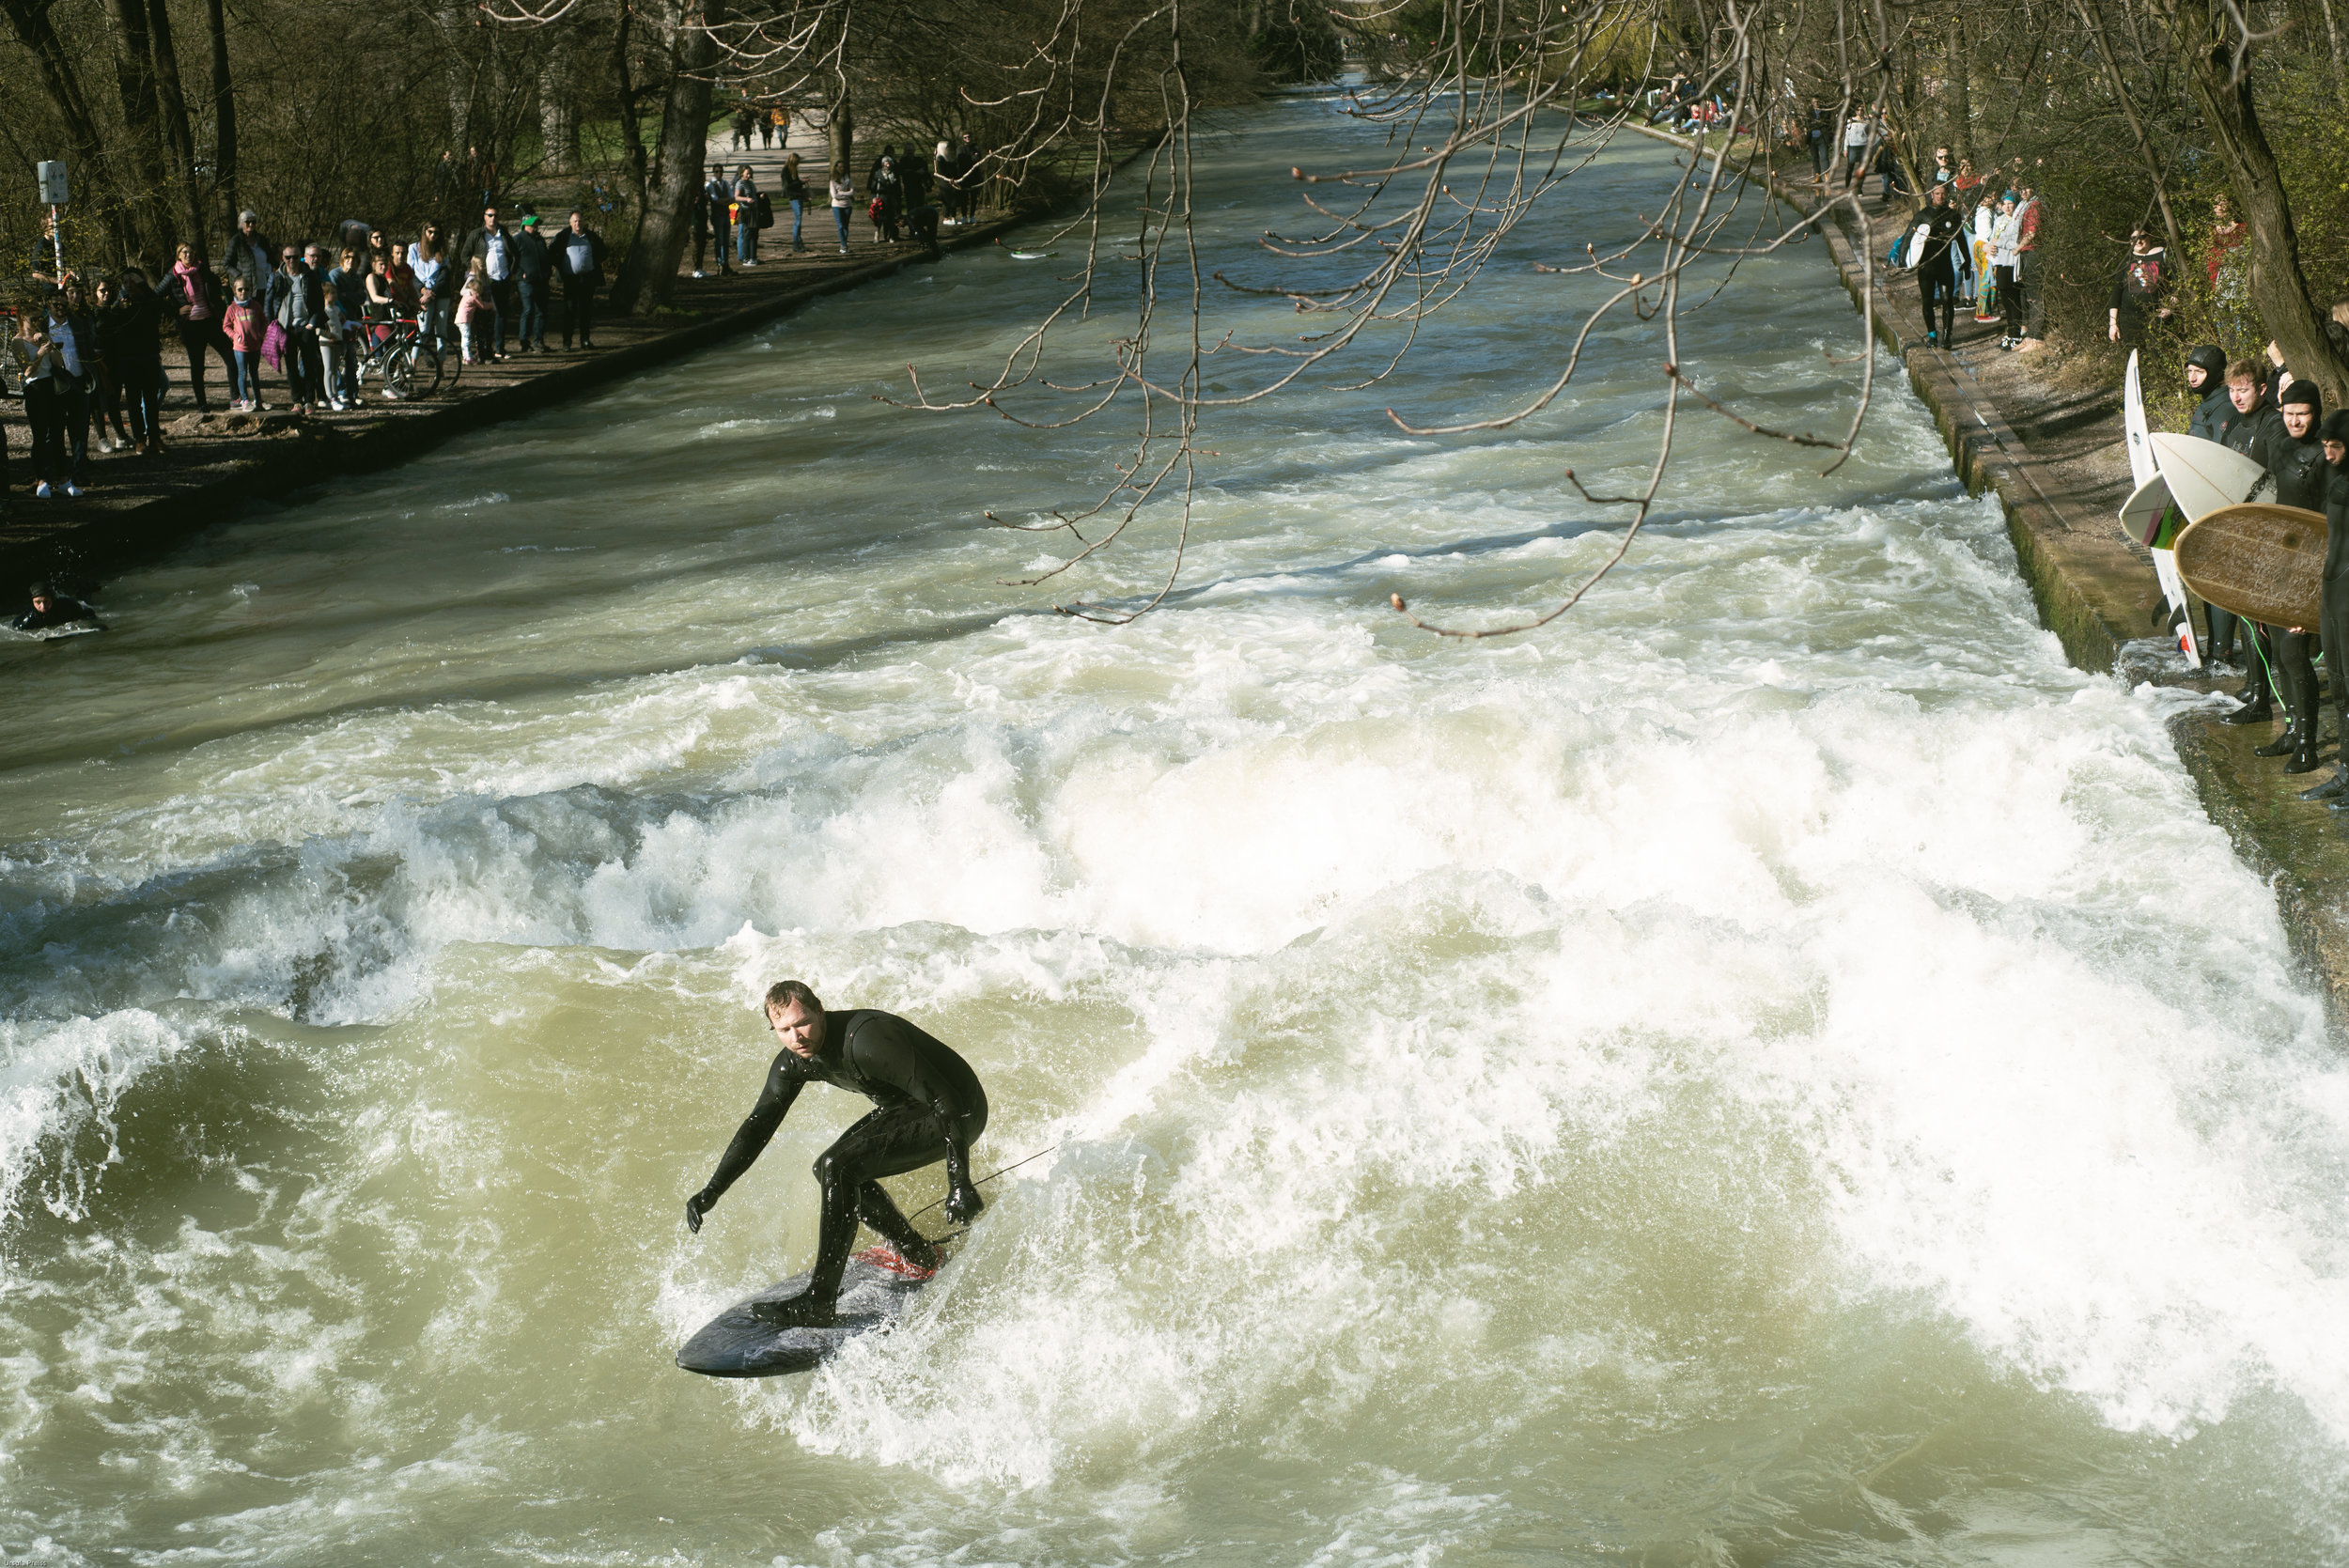
Finally we arrived at the Ice Lake. I almost didn’t trust my eyes. So many surfers tested the wild waves there. It must have been freezing cold despite the black rubber swimsuit. A lot of viewers admired the surfers.

_DSC3440-Bearbeitet.jpg

A lot is to discover around the corner. What seems to be boring is interesting for others. One must learn to see.

Manual focus

Usually my focus is on auto focus. It’s fast and easy to use. My eyes are no more so good. Almost ever I use this setting.

Whenever I discover a new setting, I wonder: Why and when should I use this? It’s really very nice to learn what features a camera has and how great they are, but if I don’t know when to use them, they are redundant.

There are three situations when I set the focus to manual.

  1. Today I practiced yoga. I often take self portraits in order to check the postures. It helps me to improve the asanas. I have a remote control. My camera is on a tripod, I adjust ISO, aperture and time. Then I go to my yoga mat and make test shot. Often everything is fine. Then I get into a pose and often in vain. My body is out of focus. The auto focus has nothing to adjust. This is when I use manual focus. I put a chair or anything at the place where I exercise. I take a picture. The automatic focus adjust exactly where I’ll sit later. Then I remove the chair and set the focus on manual focus. That way I make sure that the camera clicks and that I am in focus.

2. I use manual focus when I need structures and backgrounds for my images. In this case I don’t use the manual focus to get sharp pictures. I aim for blurry pictures.

DSC_5503.jpg

3. When I see light, I set my camera to manual focus, too. Again I aim for blurry pictures. Usually I get a nice bokeh picture that I can blend into other pictures.

Manual focus works in both directions. Sometimes it helps to get the subject in focus, especially when taking self-portraits. One can also create blurry pictures and bokeh pictures.

Comments are welcomed.

ISO - an approach

DSC_8542-Bearbeitet.jpg

Yesterday I googled ISO. I had the feeling as if everything about ISO was written already. Pictures showed the different ISO settings applied on the same object. At the end I knew how useful ISO is and how powerful.

What was still missing is how to approach ISO in a more practical way. It’s great to know what is possible. But how can I use ISO when I take pictures?

  1. ISO is the first setting that I check on my camera. Before I adjust anything else, I adjust ISO to the current light situation. The first question is about the light. This is done rather fast. The correct ISO setting can save a picture.

  2. First orientation I got in a workshop. The teacher told us to use ISO 400 when outside and to use ISO 800 when inside a room. I found this as a very good start. From there I could fine-tune my camera. When the room is very dark I use a higher ISO. Once I was on a beach on a bright day I knew at once that ISO 100 would be great. When the main subject of the picture is bright I can use a lower ISO.

  3. ISO 100 creates pictures of the highest quality. The higher the ISO the more corny the picture gets. This can be wished. It can be a mean to express the night. Corny doesn’t equal bad picture. Yet usually one aims for a low ISO setting.

  4. By now I mentioned two light situations: Inside a room and outside on a normal day. But there are much more difficult light situations. A difficult light situation is when it’s very dark with bright light somewhere, and when in addition the main attraction of the scenery is moving. Then I adjust my camera to ISO Auto. Especially when the light is changing all the time, this is my setting.

  5. It’s a good tip to know the camera by heart. Also in a dark environment one should be able to adjust the camera.

    I remember how to adjust my camera to ISO Auto: Camera on - second button (back, from below) - wheel at the front.

    I remember how to adjust my camera individually: Camera on - second button (back, from below) - wheel at the front to ISO - wheel back to adjust individually.

    There are two respectively three steps to adjust ISO to the light situation..

  6. It’s difficult to forbid to take pictures these days when in a museum or a concert. Usually to take pictures is allowed, but without flash. With ISO a flash can be compensated. It makes sense to understand ISO and how to set it in different light situations.

PIcture:

I took the above picture with a Nikon 750. ISO was in auto mode. I later checked ISO. It was set to ISO 12800, which is the highest setting. Is the picture unpleasant corny? I don’t think so.

To combine situations with ISO settings might help to get faster:

Beach is ISO 100

Snow is ISO 100

Outside is ISO 400

Inside is ISO 800

Concerts is ISO Auto

These are only rough orientations, but it’s a beginning to get familiar with ISO and to adjust it.

I’d appreciate to hear if this post was useful for you. Please comment. Thank you.

The result of a photo session

_DSC2632-Bearbeitet.jpg

I had something else in mind when I started taking pictures. It was dark already. I had to hurry to have still some natural light. My camera was too close. The location had not enough room to put the camera farer away from the wall. It got dark quickly. That’s it for today, I thought.

Am I disappointed?

Not at all. I’m surprised and entertained.

Depth

_DSC2027-Bearbeitet.jpg
_DSC1333-Bearbeitet.jpg

A picture usually is flat. Yet it’s possible to deceive the viewer and to create an illusion of depth.

How to create depth in a picture:

This is possible with lines, light, blurriness, sizes and so on….

To create depth has something to do with the composition of a picture. In general one can say that a composition can make a picture interesting or boring. There are rules, yet it’s possible to break.

I realized that I neglected depth in a picture by now. Spontaneously I put my models in front of a wall. A wall can also be bush or a house or a door. A wall is something that doesn’t allow to look deeper. The picture stops usually behind the motive.

The question ‘why should I create depth’ is as important as the how. There are reasons for both compositions.

I tend to prefer flat pictures. Taste is surely also a criteria why to chose a composition.

It makes sense to look at pictures with the questions:

  1. Is there depth in a picture or is it a flat picture?

  2. How is the depth created?

  3. If there is no depth, which background is used?

  4. Why makes the composition of depth a picture interesting? Which story is told with this depth?

The rule of third

_DSC0398.jpg

The ‘rule of third’ was one of the first composition rules that I learned and applied. I set my camera in a way so that I saw the 4 lines that divided my frame into 3 parts, horizontal and vertical. This gave me an orientation. Later I checked my picture in Lightroom and cut them accordingly. I’m convinced that my pictures got better with this rule in mind. To center the main subject is way too balanced. There is no tension in the picture that comes from composition. Tension can come from other sources, of course. Contrast i.e. can make a picture exciting. Nevertheless the composition of a picture is important. With the composition I can lead the eye of the viewer.

The rule of third is very useful for a landscape or portrait frame. Instagram has only squares. With Instagram I moved my subject to the middle of the frame again. Everything else feels off.

The first consideration when I take a picture is what frame I shall use. I love the ratio 2:3. This frame allows to move the subject to the side.

I’m convinced that applying the rule of third makes most pictures better.

Reasons for breaking this rule exist.

Yesterday I was in a museum here in Cape Town, SA. In one floor they showed African fashion shows. For me fashion is art, too. The models, the clothes were so beautiful. I sat down and watched one show after the other. In that room were also use dolls dressed in contemporary African clothes. Suddenly a woman entered the room with a huge camera. She took a picture and in the next second she took another one. She asked me to take some pictures with her in the frame. I agreed. Quickly she wanted to terminate the photo session. As fast as she entered the room, she was out.

Sometimes one has to be fast, very fast with the camera. Being ready is everything. Moments don’t repeat. When sleepwalking many situations will get missed if one is not ready. But dolls cannot run away. Why not taking time to think first what one wants to capture. Perhaps details are more important than all these dolls. One must set the camera correctly in such a difficult light situation.

Being fast and ready is a very useful skill.

In order to improve the art of photography one must pause from time to time. Before taking a picture it makes sense to ask oneself a few questions. These questions can change….

For the next month I focus on the following questions before I take a picture:

  1. What’s the subject and do I like it? I want to take pictures of people, but I don’t like to take pictures of people checking their iPhones. There are more interesting activities than that.

  2. From where comes the light? Perhaps I must move?

  3. What composition can I apply? Today it’s the ‘rule of third’ that I want to apply.

Black and white

_DSC0212-Bearbeitet.jpg

It’s 1st December, I started the last 30 day challenge of this year. It’s black and white because I want to focus on subject, light and composition. Color is such a strong element in a picture that one can easily be distracted. Indeed, I view the world differently when I have this project in mind. I’m looking for strong contrasts, bright light, dark furniture, strong patterns and so on.

The above picture is called ‘A private affair - the mirror and me’.

Friskiness is contagious

_DSC0016-Bearbeitet.jpg

They saw my camera and started posing in front of me. I had to take pictures of these children full of joy. They did handstands and ran around. In front of them is the beach. Later I saw them dancing and jumping around on the sand. A boy did a cartwheel. The other jumped into the sea. Because of such moments I love to travel.

The children wanted a print, but I couldn’t print out this picture as a gift.

What I missed today

_DSC9889-Bearbeitet.jpg

We’re in Stellenbusch in South Africa. This morning we woke up, showered, dressed and soon we were ready for the breakfast in the hotel. We went down and soon we had our first coffee, fresh fruit, toast, jam. I had left my camera in our room. I don’t want to take pictures of food anymore. Breakfast rooms are also not that exciting even though the one here is very special with the antique furniture, the dishes with gold rims and the heavy curtains beside the windows. Then she came in. A woman in a dress with a flower pattern headed for a seat. I guess she was in her 70th. And she was barefoot. It’s rather cold here in the morning. The rooms are not heated. Everybody wore shoes. She was barefoot and didn’t made the slightest move to change this. She came without shoes, she had breakfast without shoes and she left the room barefoot. She didn’t care at all. It seemed so. The thought to go barefoot to the breakfast room in a hotel never crossed my mind. I loved it.

This barefoot lady wouldn’t be amused probably if I captured this moment of her life with my camera. My camera was in my suitcase, so I was forced to behave politely.

The day was still young. I had good hope to capture something else. The goat with the feeding hand became my picture of the day.