Camera

Manual focus

Usually my focus is on auto focus. It’s fast and easy to use. My eyes are no more so good. Almost ever I use this setting.

Whenever I discover a new setting, I wonder: Why and when should I use this? It’s really very nice to learn what features a camera has and how great they are, but if I don’t know when to use them, they are redundant.

There are three situations when I set the focus to manual.

  1. Today I practiced yoga. I often take self portraits in order to check the postures. It helps me to improve the asanas. I have a remote control. My camera is on a tripod, I adjust ISO, aperture and time. Then I go to my yoga mat and make test shot. Often everything is fine. Then I get into a pose and often in vain. My body is out of focus. The auto focus has nothing to adjust. This is when I use manual focus. I put a chair or anything at the place where I exercise. I take a picture. The automatic focus adjust exactly where I’ll sit later. Then I remove the chair and set the focus on manual focus. That way I make sure that the camera clicks and that I am in focus.

2. I use manual focus when I need structures and backgrounds for my images. In this case I don’t use the manual focus to get sharp pictures. I aim for blurry pictures.

DSC_5503.jpg

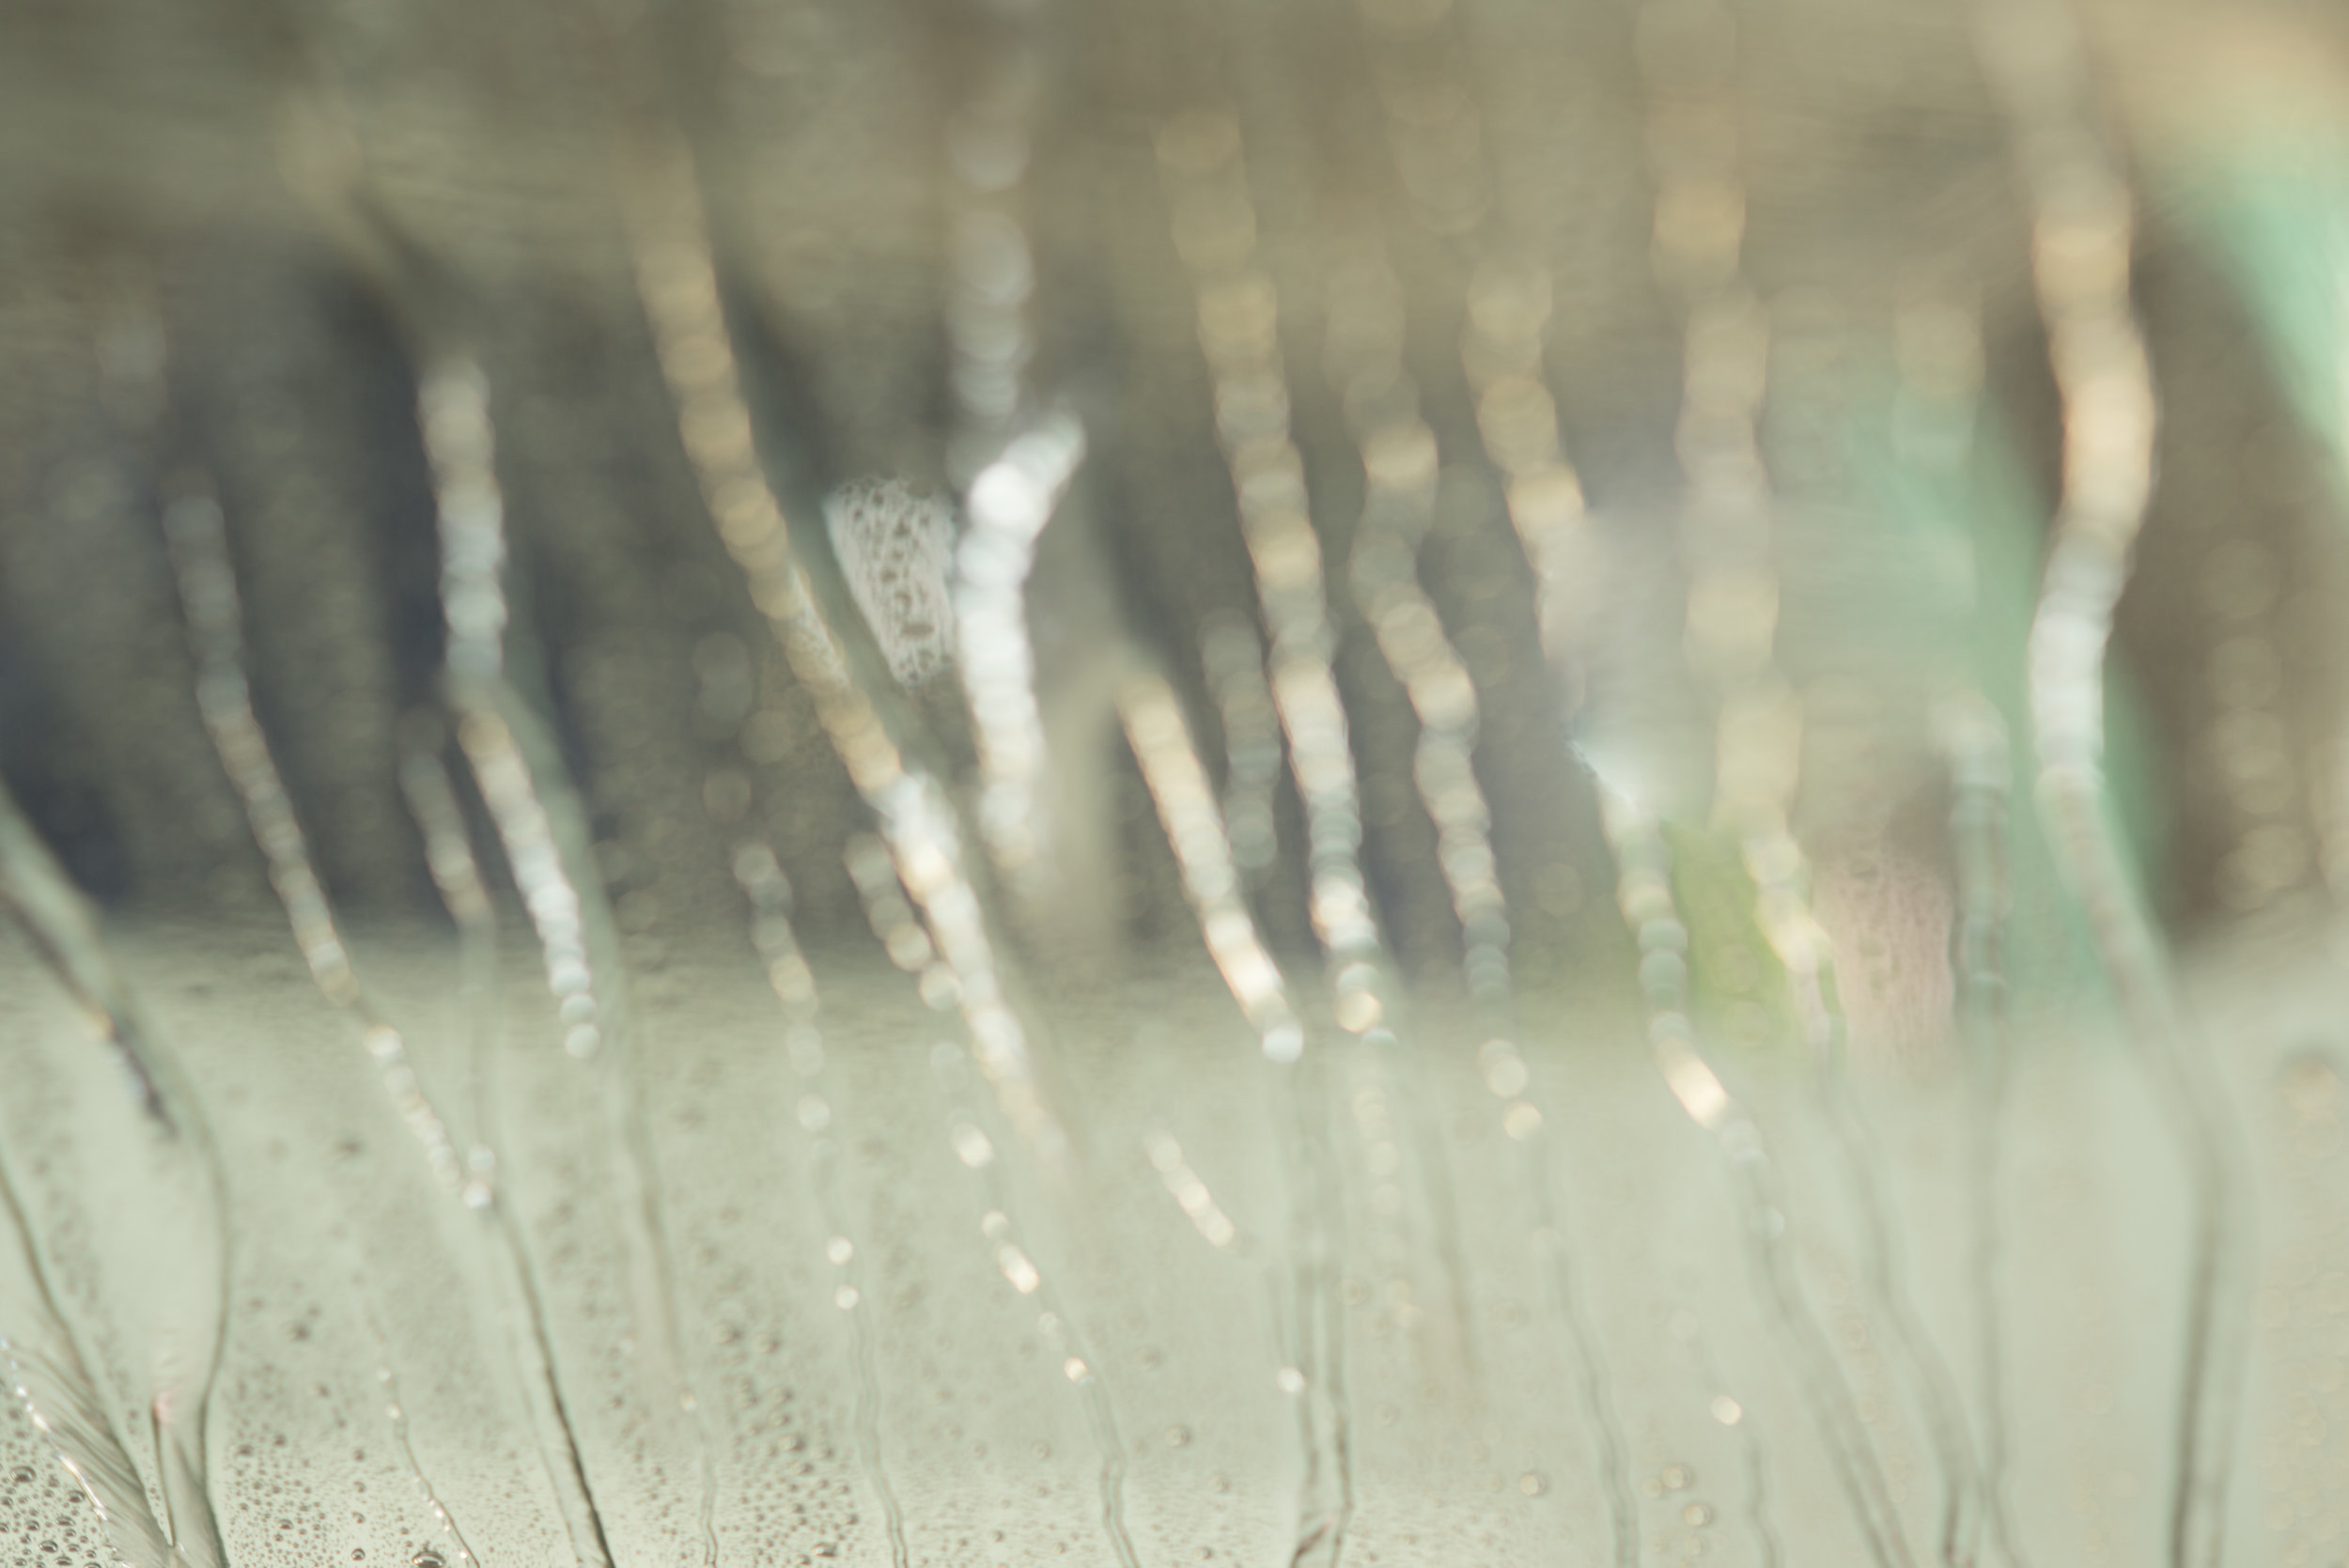
3. When I see light, I set my camera to manual focus, too. Again I aim for blurry pictures. Usually I get a nice bokeh picture that I can blend into other pictures.

Manual focus works in both directions. Sometimes it helps to get the subject in focus, especially when taking self-portraits. One can also create blurry pictures and bokeh pictures.

Comments are welcomed.

ISO - an approach

DSC_8542-Bearbeitet.jpg

Yesterday I googled ISO. I had the feeling as if everything about ISO was written already. Pictures showed the different ISO settings applied on the same object. At the end I knew how useful ISO is and how powerful.

What was still missing is how to approach ISO in a more practical way. It’s great to know what is possible. But how can I use ISO when I take pictures?

  1. ISO is the first setting that I check on my camera. Before I adjust anything else, I adjust ISO to the current light situation. The first question is about the light. This is done rather fast. The correct ISO setting can save a picture.

  2. First orientation I got in a workshop. The teacher told us to use ISO 400 when outside and to use ISO 800 when inside a room. I found this as a very good start. From there I could fine-tune my camera. When the room is very dark I use a higher ISO. Once I was on a beach on a bright day I knew at once that ISO 100 would be great. When the main subject of the picture is bright I can use a lower ISO.

  3. ISO 100 creates pictures of the highest quality. The higher the ISO the more corny the picture gets. This can be wished. It can be a mean to express the night. Corny doesn’t equal bad picture. Yet usually one aims for a low ISO setting.

  4. By now I mentioned two light situations: Inside a room and outside on a normal day. But there are much more difficult light situations. A difficult light situation is when it’s very dark with bright light somewhere, and when in addition the main attraction of the scenery is moving. Then I adjust my camera to ISO Auto. Especially when the light is changing all the time, this is my setting.

  5. It’s a good tip to know the camera by heart. Also in a dark environment one should be able to adjust the camera.

    I remember how to adjust my camera to ISO Auto: Camera on - second button (back, from below) - wheel at the front.

    I remember how to adjust my camera individually: Camera on - second button (back, from below) - wheel at the front to ISO - wheel back to adjust individually.

    There are two respectively three steps to adjust ISO to the light situation..

  6. It’s difficult to forbid to take pictures these days when in a museum or a concert. Usually to take pictures is allowed, but without flash. With ISO a flash can be compensated. It makes sense to understand ISO and how to set it in different light situations.

PIcture:

I took the above picture with a Nikon 750. ISO was in auto mode. I later checked ISO. It was set to ISO 12800, which is the highest setting. Is the picture unpleasant corny? I don’t think so.

To combine situations with ISO settings might help to get faster:

Beach is ISO 100

Snow is ISO 100

Outside is ISO 400

Inside is ISO 800

Concerts is ISO Auto

These are only rough orientations, but it’s a beginning to get familiar with ISO and to adjust it.

I’d appreciate to hear if this post was useful for you. Please comment. Thank you.